This is ongoing Migration SharePoint series.
I will be breaking the blog posts into 6 pieces :
- Installing and SQL Server 2012 (or 2014) in the new SharePoint Farm.
- Installing and Configuration SharePoint Server 2013 for migration. (This Blog Post)
- Configure Firewall
- Migrate SharePoint 2010 Service Application databases to SharePoint 2013 with Testing
- Test SPContentDatabase and Mount Databases
- Upgrade site collections
Step2: Installing and Configuration SharePoint Server 2013
After the new SQL Server 2012 environment is ready, you need to create a new SharePoint Server 2013 farm. In this process:
1. A farm administrator mounts a SharePoint Server 2013 and configures farm settings. The testing is very crucial here.
2. A farm administrator sets SP2010 database farm to read-only so that users can still access the old farm while upgrade is in progress.
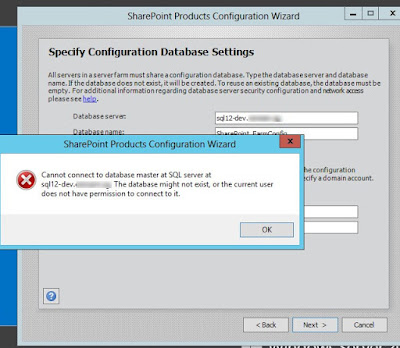
Cannot connect to database master at SQL server at the sql12.contoso.com. The database might not exist, or the current user does not have permissions to connect to.
Click on Part 3: to proceed.
2.22 SharePoint Configuration wizard – Continue
As you have configured the Firewall rule for SQL Server try to run the SharePoint configuration wizard on SharePoint Server 2013.
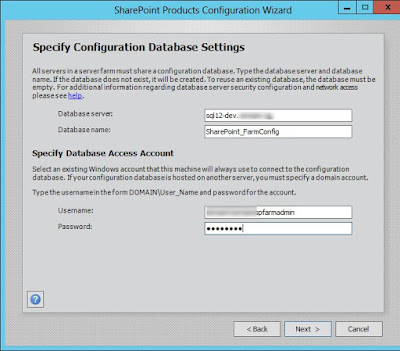
2.23 There was no error this time around. Enter the PassPhrase. It’s required to add a new SharePoint Server 2013 farm.
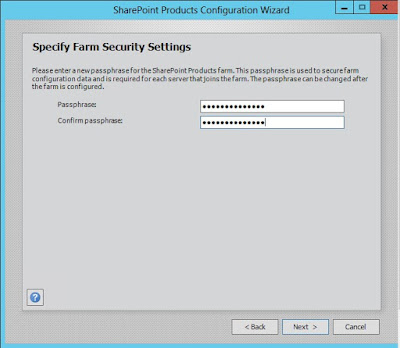
Passphrase is: sp2013!sp2013!
2.24 Specify the Central Administration for SharePoint Farm.
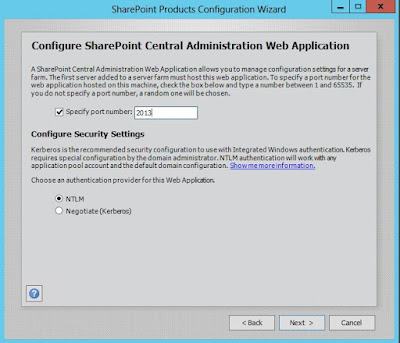
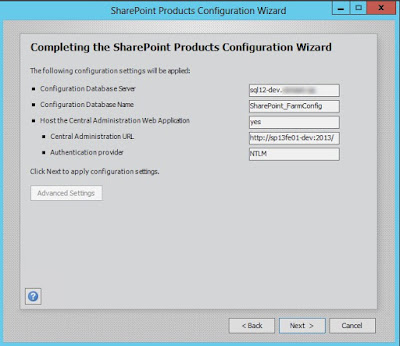
2.25 The following screen shows the summary of database server and database names along with SharePoint 2013 Central Administration URL.
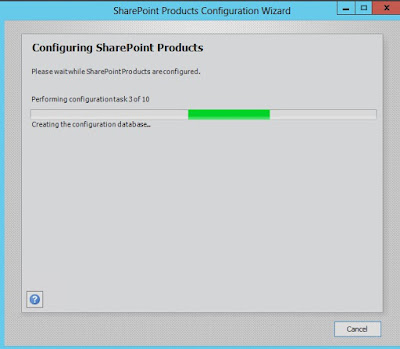
2.26 SharePoint Products start kicking
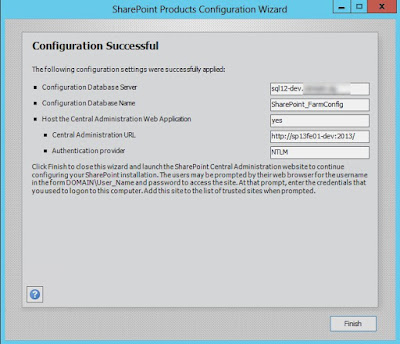
2.27 The SharePoint Product and Configuration is successful. Click on “Finish” button.
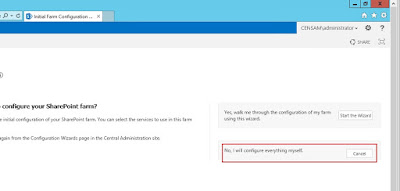
2.28 The new SharePoint Server 2013 Central Administration shows up and check “No, I don’t wish to participate”

2.29 Followed Microsoft’s best practices and Cancel out the Farm Wizard as Farm wizard creates all the services that are enabled be default and farm administrator has no control on databases that are created in SQL Server using Farm Wizard.
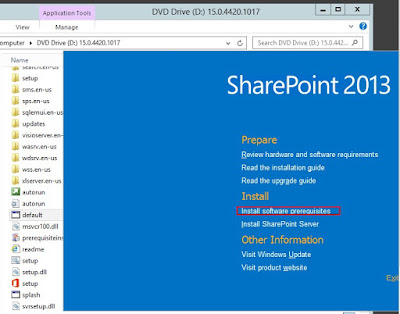
2.2 The splash screen, within “Install” click on “Install software prerequisites”
2.3 SharePoint 2013 Productions Preparation tool opens and shows a number of perquisites required for SharePoint 2013. Click on “Next” button.
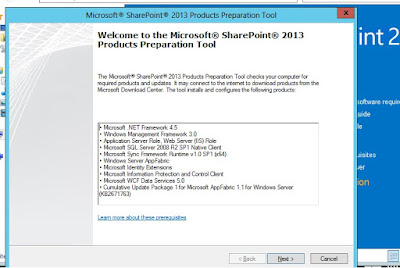

2.3 SharePoint 2013 Productions Preparation tool opens and shows a number of perquisites required for SharePoint 2013. Click on “Next” button.

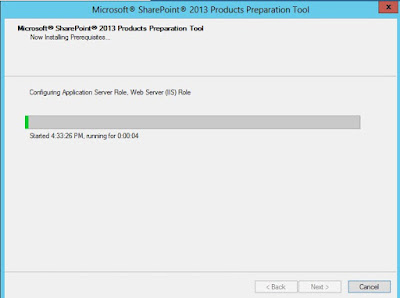
2.5 The SharePoint 2013 Products Preparation tool configures necessary components
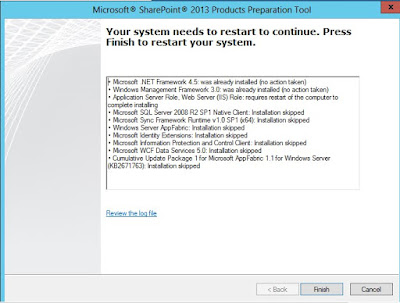
2.6 The preparation tool requires server reboot. Click on “Finish” button
2.7 The system configures required features
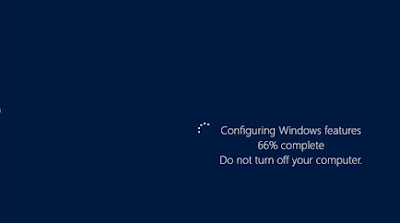
2.8 After reboot the installation will be automatically and start configuring other features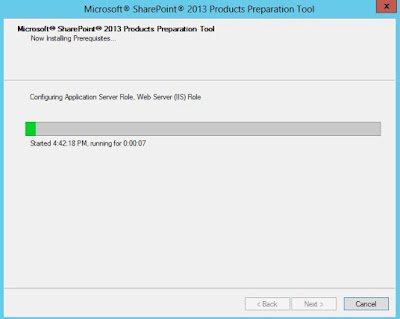

2.6 The preparation tool requires server reboot. Click on “Finish” button

2.7 The system configures required features

2.8 After reboot the installation will be automatically and start configuring other features

2.10 After second reboot the installation will be automatically started and start configuring other features.
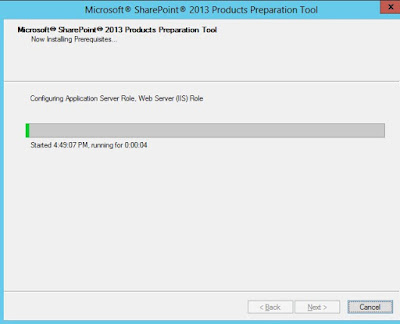
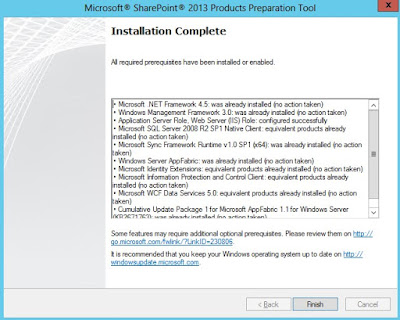


2.11 Once the SharePoint prerequisites have been install on server, click on “Install SharePoint Server”
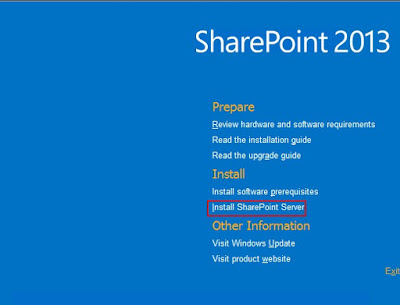

2.12 Enter the product key and click on “Continue” button.
2.14 In the Server Type, keep the default settings (Complete) and click on “Install Now”
NOTE: If you have dedicated SharePoint Search server, Microsoft recommends to install on non-system drive i.e. not on the C drive. The reason is the Search index files can be expand exponentially and its better to have search index on D or E drives.
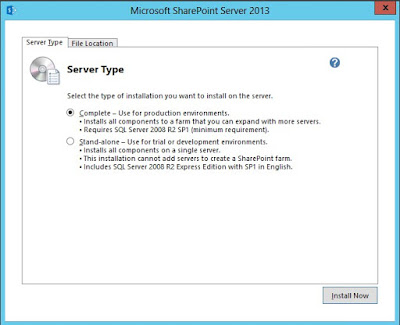
NOTE: If you have dedicated SharePoint Search server, Microsoft recommends to install on non-system drive i.e. not on the C drive. The reason is the Search index files can be expand exponentially and its better to have search index on D or E drives.

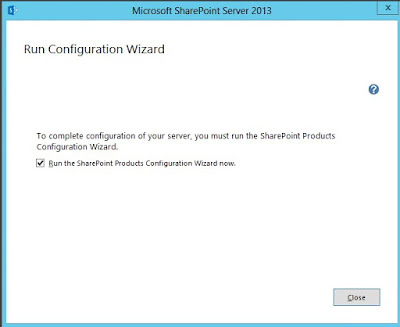
SharePoint Configuration Wizard.2.16 The following screen is called as SharePoint Configuration wizard.

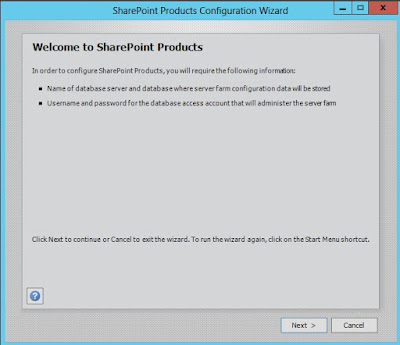
2.17 The screen is important as it asks for name of SQL Server 2012 SharePoint database and service account that will be used to administer the SharePoint Server Farm.

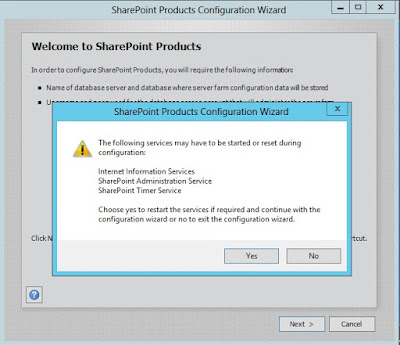
2.18 Configuration wizard prompts that Internet Information Services, SharePoint Administration Service and SharePoint Timer Service be restarted. Click “Yes” to proceed.

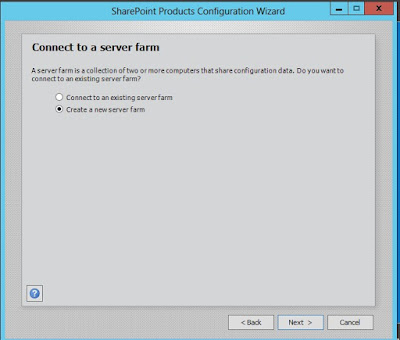
2.19 In next screen, the wizard asks to “Connect to server farm”. As it’s our first server farm, choose on “Create New Server Farm”

2.20 Provide the database server name and database name should be “SharePoint_FarmConfig”. Please note this is totally a new database and cannot be migrated. Supply the farm account and the password. For e.g. while setting up database access account supply contoso\sp_farm
2.21 I got an error while configuring SharePoint Database server name

Cannot connect to database master at SQL server at the sql12.contoso.com. The database might not exist, or the current user does not have permissions to connect to.
Click on Part 3: to proceed.
2.22 SharePoint Configuration wizard – Continue
As you have configured the Firewall rule for SQL Server try to run the SharePoint configuration wizard on SharePoint Server 2013.

2.23 There was no error this time around. Enter the PassPhrase. It’s required to add a new SharePoint Server 2013 farm.

Passphrase is: sp2013!sp2013!
2.24 Specify the Central Administration for SharePoint Farm.

2.25 The following screen shows the summary of database server and database names along with SharePoint 2013 Central Administration URL.

2.26 SharePoint Products start kicking

2.27 The SharePoint Product and Configuration is successful. Click on “Finish” button.

2.28 The new SharePoint Server 2013 Central Administration shows up and check “No, I don’t wish to participate”

2.29 Followed Microsoft’s best practices and Cancel out the Farm Wizard as Farm wizard creates all the services that are enabled be default and farm administrator has no control on databases that are created in SQL Server using Farm Wizard.

Please comment if this blog post is helpful.
--aaroh :)


No comments:
Post a Comment