This is ongoing Migration SharePoint series.
Upgrade My Site Host
I will be breaking the blog posts into 6 pieces :
- Installing and SQL Server 2012 (or 2014) in the new SharePoint Farm.
- Installing and Configuration SharePoint Server 2013 for migration.
- Configure Firewall
- Migrate SharePoint 2010 Service Application databases to SharePoint 2013 with Testing
- Test SPContentDatabase and Mount Databases
- Upgrade site collections (This blog Post)
In this final step, upgrade the SharePoint
2010 UI to new SharePoint 2010 UI with added features. To perform this, we need
to upgrade each site collection and My Sites.
Upgrade top level site collections
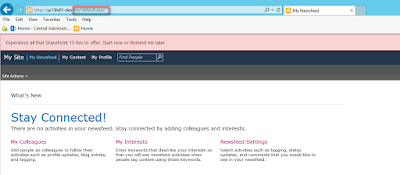
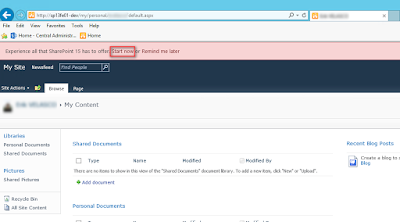
- On
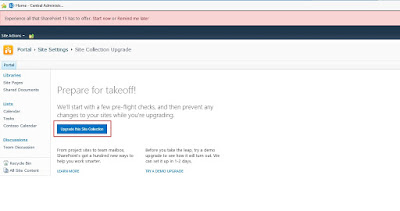
top level site, we will see a top bar with pink in color stating “Experience
all that SharePoint 15 has to offer. Start
now or Remind me later ” as shown below:

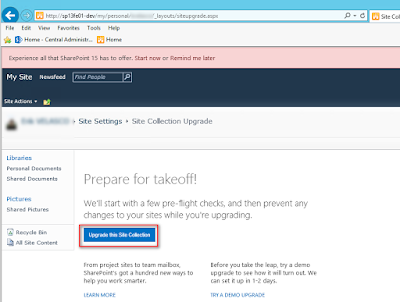
- Click
on “Upgrade this site collection”:
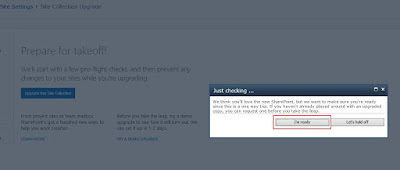
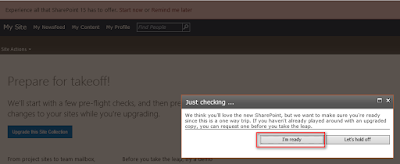
- Click
on “I’m ready” and proceed
- In this step, site collection will perform health checks:
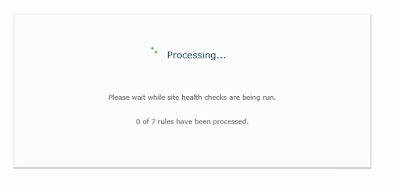
- It has to note that health checks may take 2-3 hours (depending on size of content database)and at the end shows an error if any. There are features in SharePoint 2013 that have been deprecated and does not work. If any errors happen, we have to fix the issue first and run the upgrade wizard.
Click here Discontinued features and modified functionality in Microsoft SharePoint 2013
Note:
You might get some errors while upgrading site collection, even though out of box features are broken in SharePoint 2013. This my question that I asked in Social MSDN SharePoint Forum
These are the steps to fix it my environment:1. Renamed the default Video content type as above so it it does not conflict. (Did not use any third party solution though)
2. Restarted the SharePoint 2013 timer service.3.Restarted the IIS.4. Ran the Site Collection upgrade.5. The site collection upgrade was successful.
Upgrade My Site Host
TechNet
suggest to upgrade My Site host first and subsequently personal site
collection:
- Start
with My Host site collection as shown:
- Click
on “I’m Ready” button.
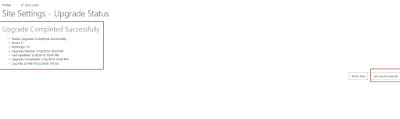
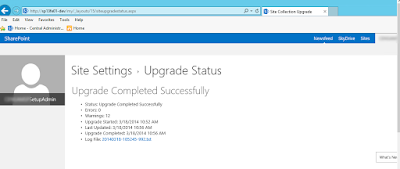
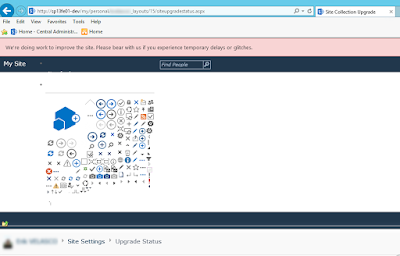
- The
upgrade site collection kicks in and will take few seconds/minutes to successfully
upgrade.
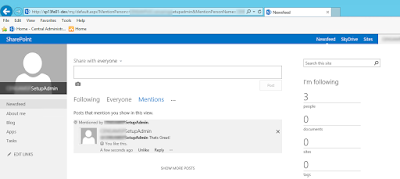
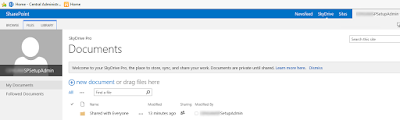
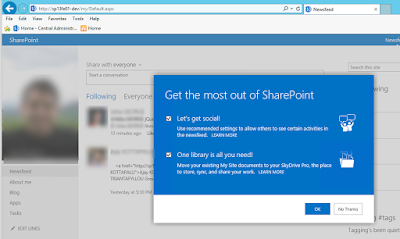
- New
social features such as Following, mentions is available immediately.
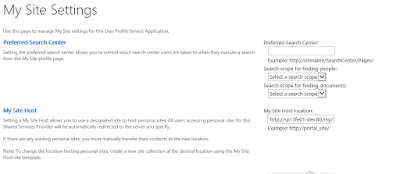
- Next, you need to configure
My Site settings as shown:
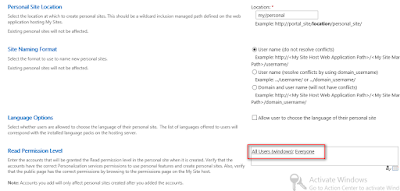
- Set the read permission for Everyone.
- As you might have some few newsfeed activities
in SharePoint 2010, you MUST check Enable Activities in My Site newsfeed
and Enable SharePoint 2010 activity migration.
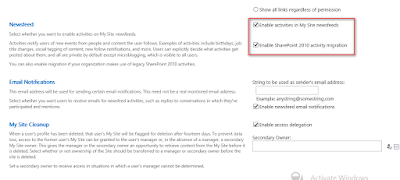
- SkyDrive
(now OneDrive SharePoint 2013 SP1 March CU onwards) option is available.
Now,
you can upgrade each personal site as below steps.
- Start
with user’s personal site collection
- The
upgrade site collection kicks in and will take few seconds/minutes to successfully
upgrade.
- Please
note during upgrade process you might get weird messages and it will be fixed
when site completely upgraded
- New
social features such as Following, mentions is available immediately.
- However,
if you have only few 3-4 user profiles, above process is fine. But if have more
profiles, use another approach using PowerShell. Use all personal profiles which is shown here:

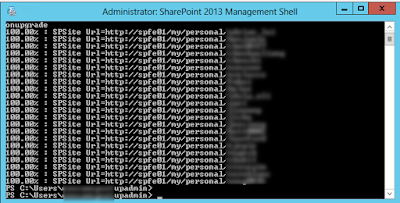
- Upgrading the My Site Host using PowerShell
Upgrade-SPSite
<< http://MySiteHostURL >> –versionupgrade
http://MySiteHostURL is the URL of the My Site Host.
- Upgrading
the personal site collection using PowerShell
Get-SPSite
-limit all |where {$_.CompatibilityLevel -eq '14'} | where
{$_.RootWeb.WebTemplateId -eq 21} |
upgrade-spsite –versionupgrade
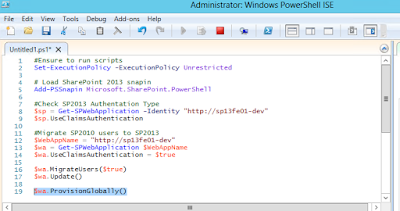
Migrate all users SharePoint 2010 windows authentication
to Claims authentication
SharePoint
2013 authentication is claims and unlike
SharePoint 2010 which is Windows authentication.
You need to perform a simple step migrate all users
Please comment if this blog post is helpful.
--aaroh :)
References:
a) TechNet
Upgrade
My Sites to SharePoint Server 2013
b) Upgrade My Site host and personal site collection
c) Migrate SharePoint 2010 users to SharePoint 2013


Now, you can upgrade each personal site as below steps.


Upgrade-SPSite << http://MySiteHostURL >> –versionupgrade
http://MySiteHostURL is the URL of the My Site Host.
Get-SPSite -limit all |where {$_.CompatibilityLevel -eq '14'} | where {$_.RootWeb.WebTemplateId -eq 21} | upgrade-spsite –versionupgrade
Migrate all users SharePoint 2010 windows authentication to Claims authentication
SharePoint 2013 authentication is claims and unlike SharePoint 2010 which is Windows authentication.
You need to perform a simple step migrate all users

Please comment if this blog post is helpful.
--aaroh :)
References:
a) TechNet Upgrade My Sites to SharePoint Server 2013
b) Upgrade My Site host and personal site collection
c) Migrate SharePoint 2010 users to SharePoint 2013


